Managing Your Waitlist
Automations
We can send automatic emails when users do some actions. You can highly customize these emails. First, add some general information for all your emails.
- Sender Name: add your name or something fancier like "Domingo from Waitify App."
- From: choose a sender address. The sending domain can be custom. Check how to add your custom domain.
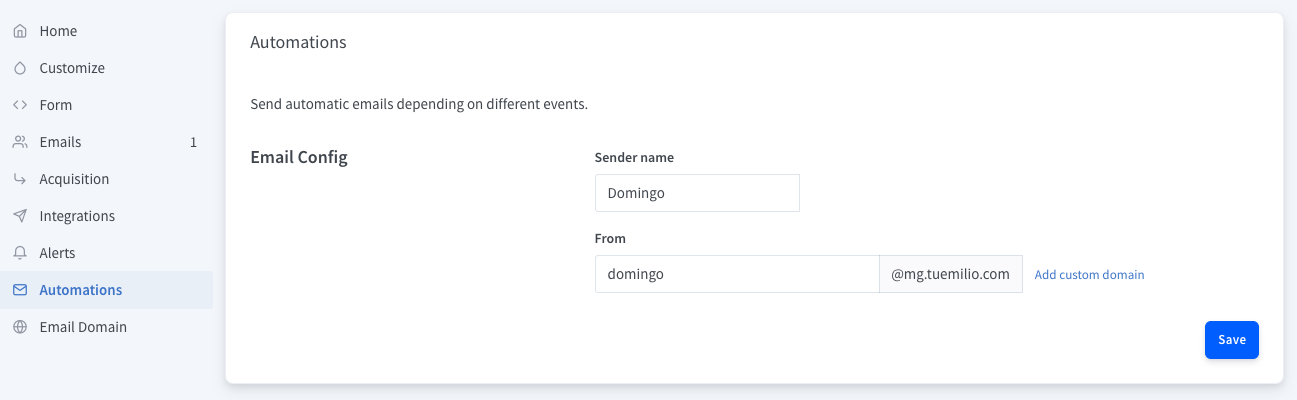
For each email automation, you have a set of common options:
- Preview: opens a new browser window with a rendered preview of the email.
- Edit: opens a simple email builder for editing the subject and body of the email.
- Enable: switches on/ff
Email Builder
- Add available merge tags using
@in the subject or body of your email. - Change the header and footer background color by clicking the palette icon on the email body's top left.
- Change the text format, colors, links using the Toolbar. Add images by clicking the picture icon and introducing an URL where the image is hosted.


All Merge Tags
NEW
If you have custom fields on your form, you'll be able to display dynamically its data on the email subject and body using @ + field name.
A custom field called name can be displayed using @name.
Depending on the email you are editing, you'll have a different set of available merge tags. Remember, you can quickly
call the available tags by typing @.
- @confirmation_link: Link for verifying email addresses.
- @dashboard_link: Link to the subscriber's dashboard.
- @email: Subscriber's email.
- @people_ahead: People ahead of the subscriber.
- @points: Subscriber's points.
- @position: Subscriber's position.
- @position_ordinal: Subscriber's ordinal position (available only in English).
- @referral_link: Subscriber's referral link to share with their friends.
- @total_referrals: Total number of subscriber's referrals.
- @total_subscribers: Total number of people on the waiting list.
- @field name: A dynamic merge tag only available if one custom field is set.
Also, you can write any merge tag between double curly brackets anywhere, including inside links. For example:
{{position_ordinal}}
and inside links:

Welcome Email
Send an email when a subscriber joins your list. If a Confirmation Email is enabled, the Welcome Email will be sent after the email has been verified.

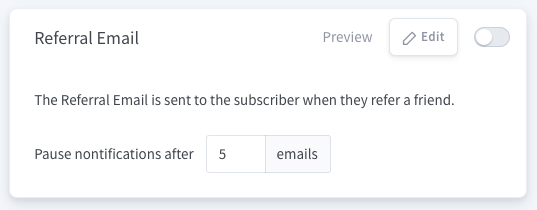
Referral Email
Send an email to a subscriber when one of their friends subscribes using their referral link. Set a limit of how many emails will be sent to this subscriber. Default is 5 emails.
Confirmation Email / Double Opt-In
Send a confirmation email to be sure that all submitted addresses are verified.
Change how long the confirmation link will be valid by selecting a verification time between 6 hours and 3 weeks.
When a user clicks in a verification email, they will be redirected to their dashboard. If you have set a custom redirection, it will follow it.
You can also customize the text shown after an email submission on the Confirmation Panel editor.

To let your subscribers resend their confirmation email, type a call-to-action like "Resend confirmation email"
and create a link pointing to {{resend_email}} as shown below:

To verify any email, we have to use a link pointing to Tuemilio. If you want to hide our domain, you can select a
call-to-action and create a link pointing to {{confirmation_link}} as shown below:

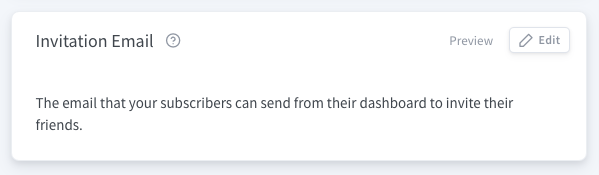
Invitation Email
Your subscribers can send their referral link to their friends via email directly from their dashboard. For that, you will need to add the invitation card to the popup.
This email cannot be disabled from the Automations page as it will never trigger if you do not make it available in the subscriber's dashboard.
Analytics
On your Tuemilio Dashboard, you'll have an overview of key metrics that help you understand how your waitlist is performing. A plot of how your list is growing. The social sources where your subscribers find your website. And lastly, a map of your subscribers.

On top of the dashboard, you have the main numbers.
- Emails: The total amount of emails you've collected.
- Visits: The number of times your website has been visited.
- Users: The number of unique visits.
- Conversion: The percentage of unique visits that subscribed to your list.
- Referrals: The number of subscribers referred by other subscribers.
- Viral Boost: The percentage of subscribers that referred to others.

Understand how your viral list is growing. By default, you see an all-time graph, but you can select other periods like last month, last month, or today.
Hover over the graph to see the numbers at a specific time. You can also remove chart lines by clicking on the names on the legend.

Other stats you'll find interesting too.
- Social Sources: A list of social sources where your subscribers found about you. The number on the side of each icon is the number of subscribers acquired on that channel. The "MORE" button redirects you to the acquisition page.
- Subscribers map: See the country of your subscribers. Hovering over the map, you can see how many of them you have in each.

Acquisition
On this page, you discover where your site is being shared and how it performs on each one of them. Check how many visits and emails you are receiving from these sources. Also, you'll find here the conversion rate of social networks.

Subscribers
You can access all your subscribers on the Emails section. They are ordered by points by default. On the list, you can also find some basic information like location, where they found your website, when and how long it took them to subscribe.

Email details
Click on any subscriber to get more details about him/her.
- Points: A total of points that the subscriber has accumulated.
- Referrals: Number of friends they manage to subscribe to your waitlist.
- Visits: Number of times the subscriber visited your site.
- Visits By Referrals: Number of unique visits they manage to attract to your website.

Custom referral code
By default, the referral link uses a random string of characters to build the subscriber's referral ID like r5Gtd6.
You can customize the referral code for any subscriber that you need, so it can look like ELONMUSK
On the subscriber page, click the edit icon on the right of the referral code. A popup will appear and there you can input the custom referral code.
If you leave the custom referral code input empty, the default code will show up again.
Import
If you already started collecting emails and you have a list. You can import them to Tuemilio by clicking the "Import" button on the "Emails" section.
Make sure that your CSV file has a column called Email Address or Email or email.
For importing users with points, a column must be named Points.
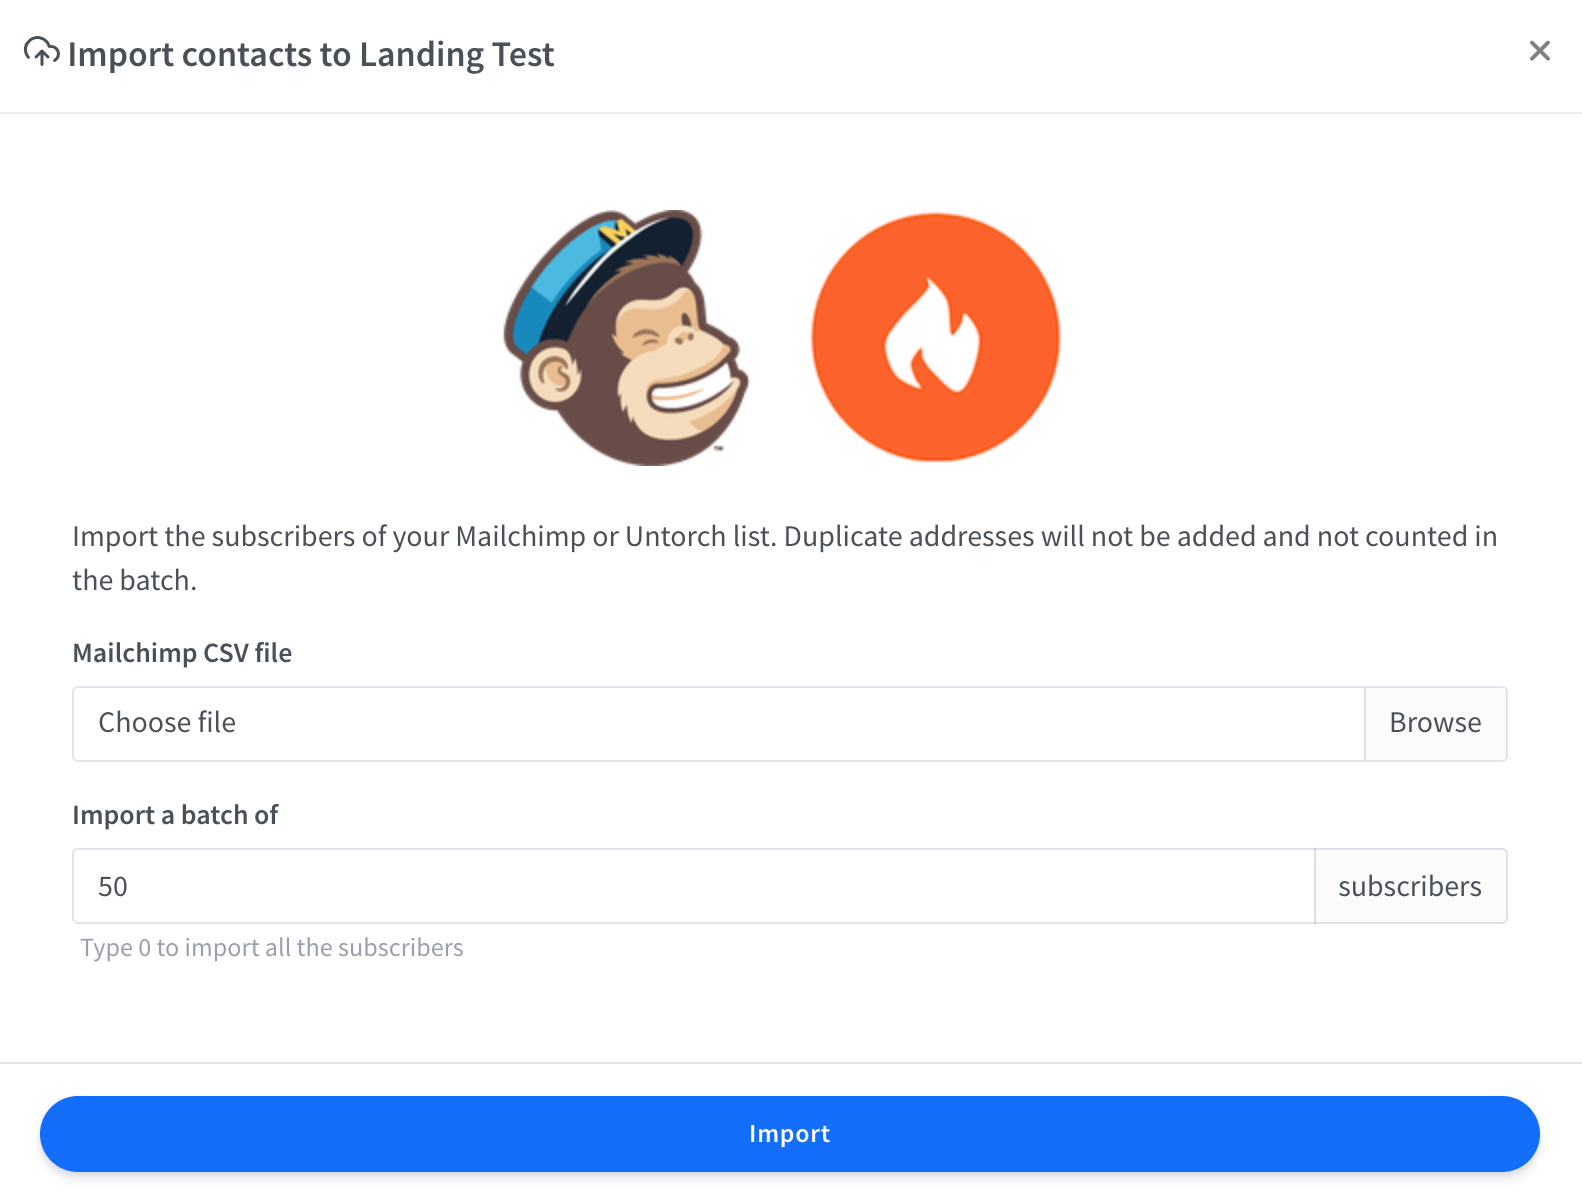
We support CSV files from MailChimp and Untorch. If you have an exported file from another service, please contact me on the chat widget below for manual import.
Export
Once your campaign is done and you are ready to launch your product. You can export all your subscriber as a CSV file by clicking the "Download" button on the "Emails" section.
Integrations
You can connect your viral waitlist to other services that you love. If you need an integration that is not listed here, please add your request here.

Mailchimp
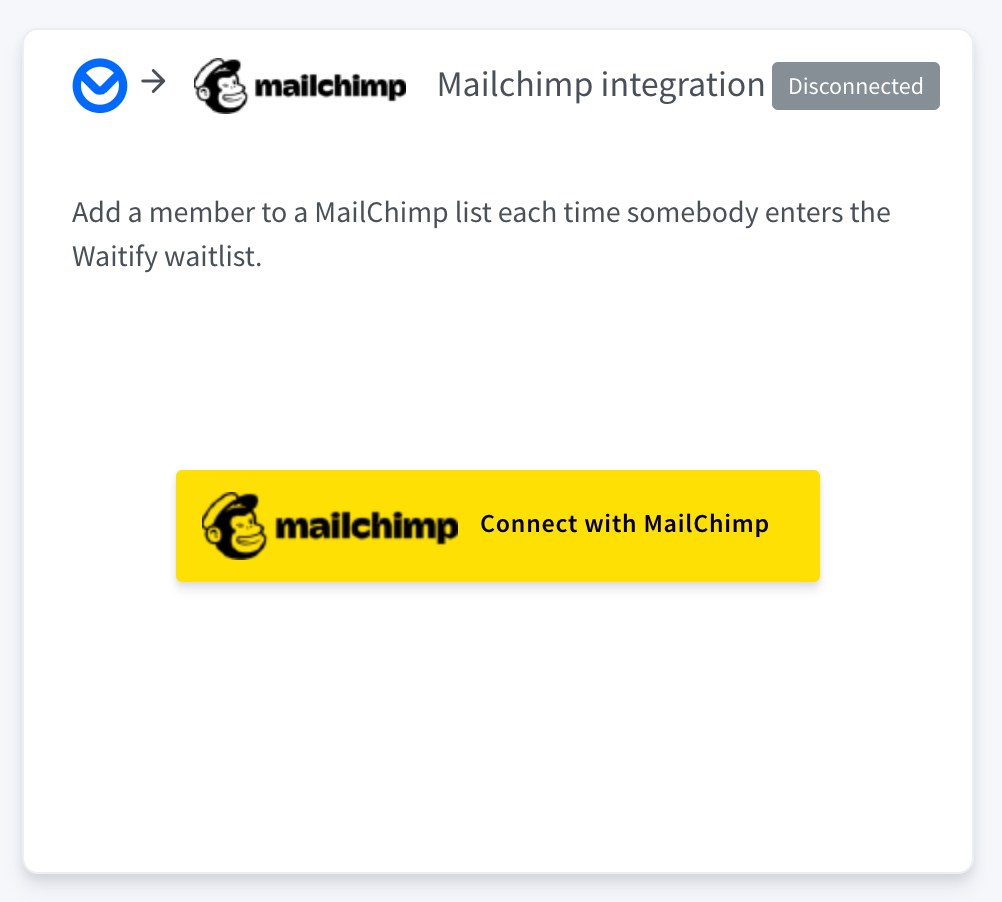
Connecting your viral waitlist to MailChimp is straightforward. So you can keep your early users informed on things like your progress, the launch date, special offers, and so on.
Click the "Connect with MailChimp" button.
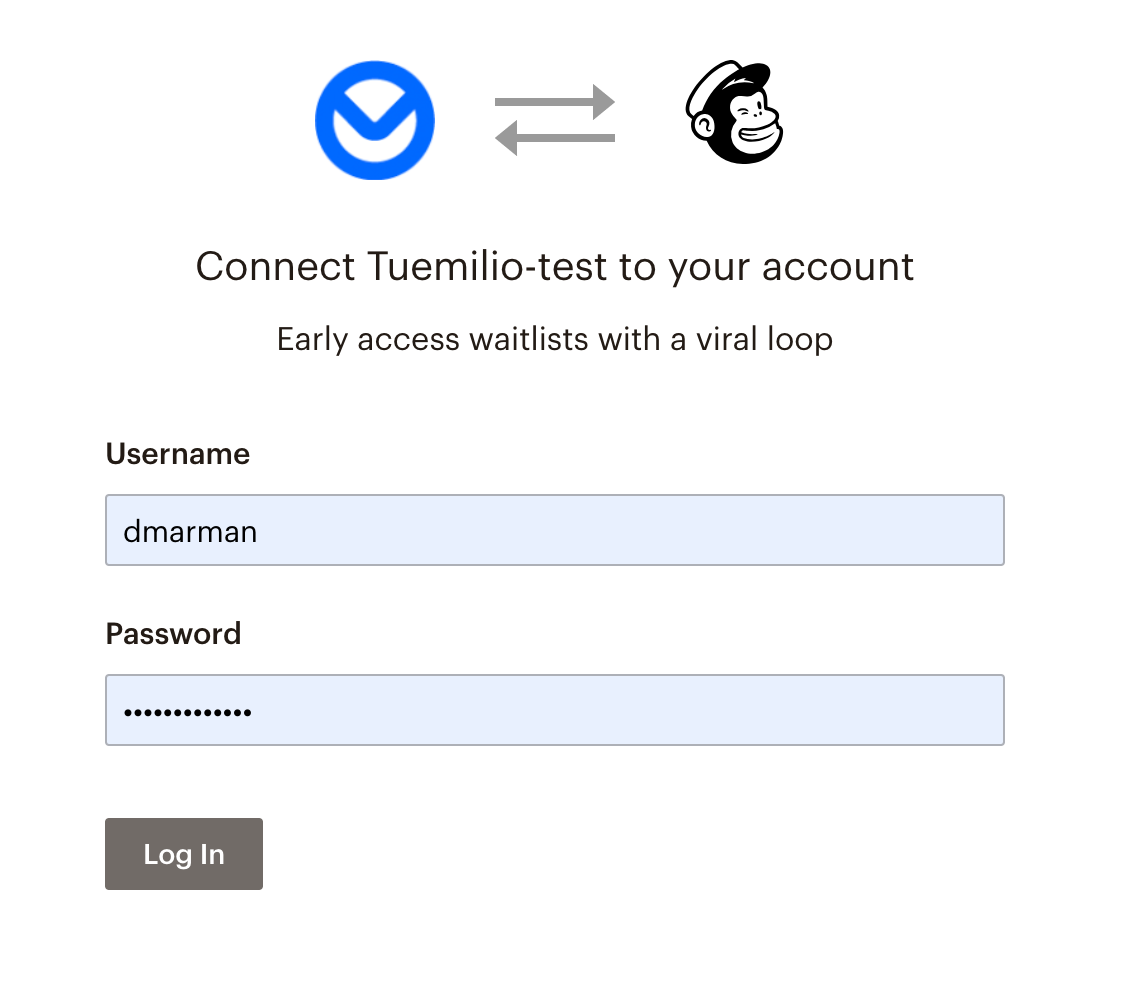
You'll be redirected to Mailchimp's login page. Use your MailChimp credentials to log in.
Once you are successfully logged in, you'll go back to your integrations page. Great! Tuemilio is now connected to MailChimp. All the email lists on your MailChimp account are displayed.
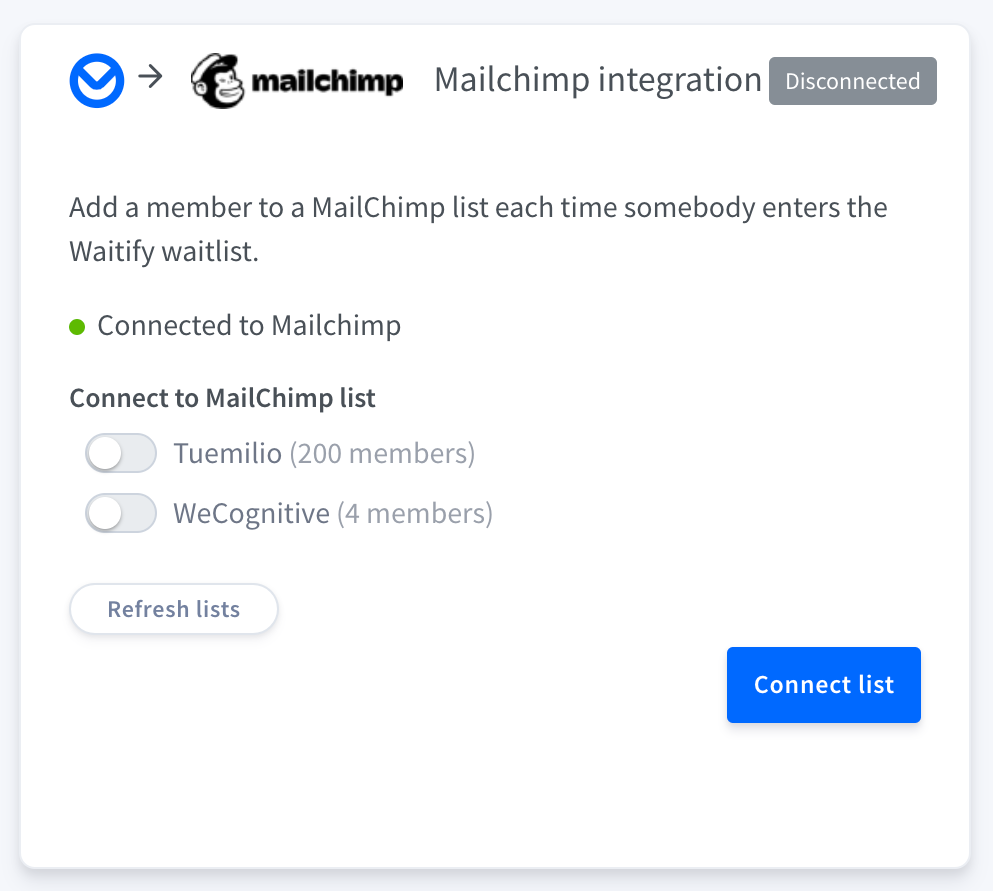
Now select the one that you need to connect with and click "Connect list".
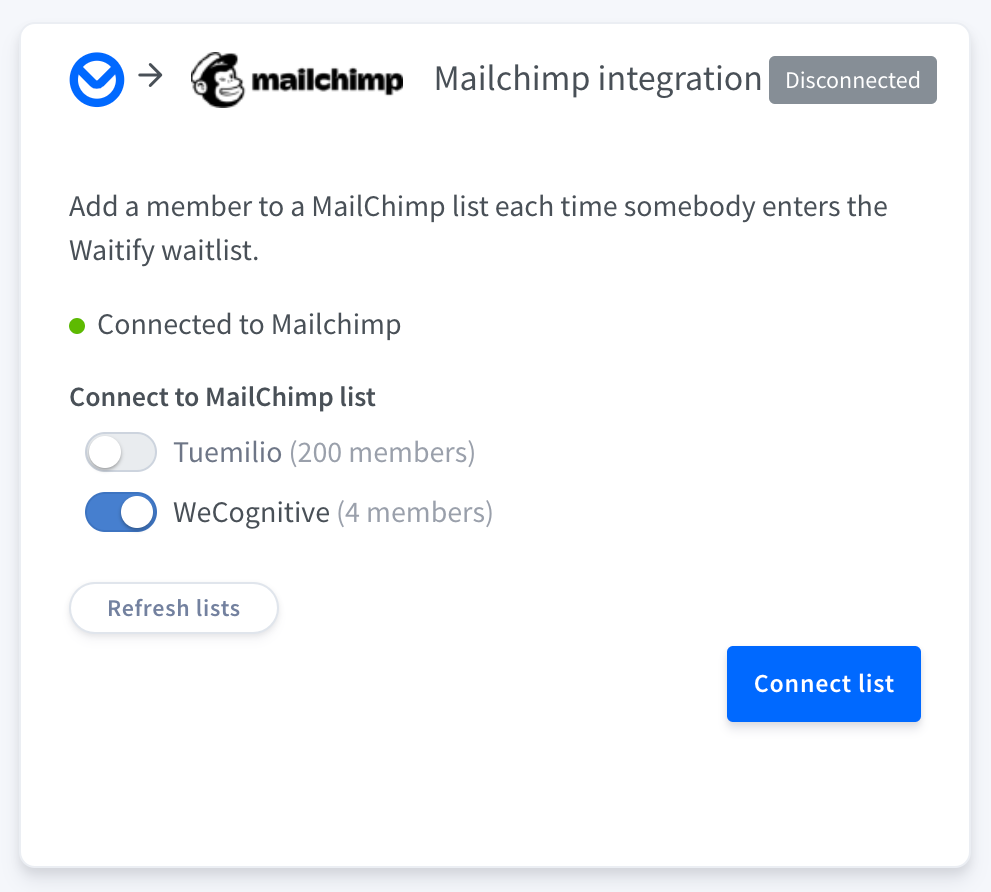
Awesome! You connected your waiting list to your email list on MailChimp.
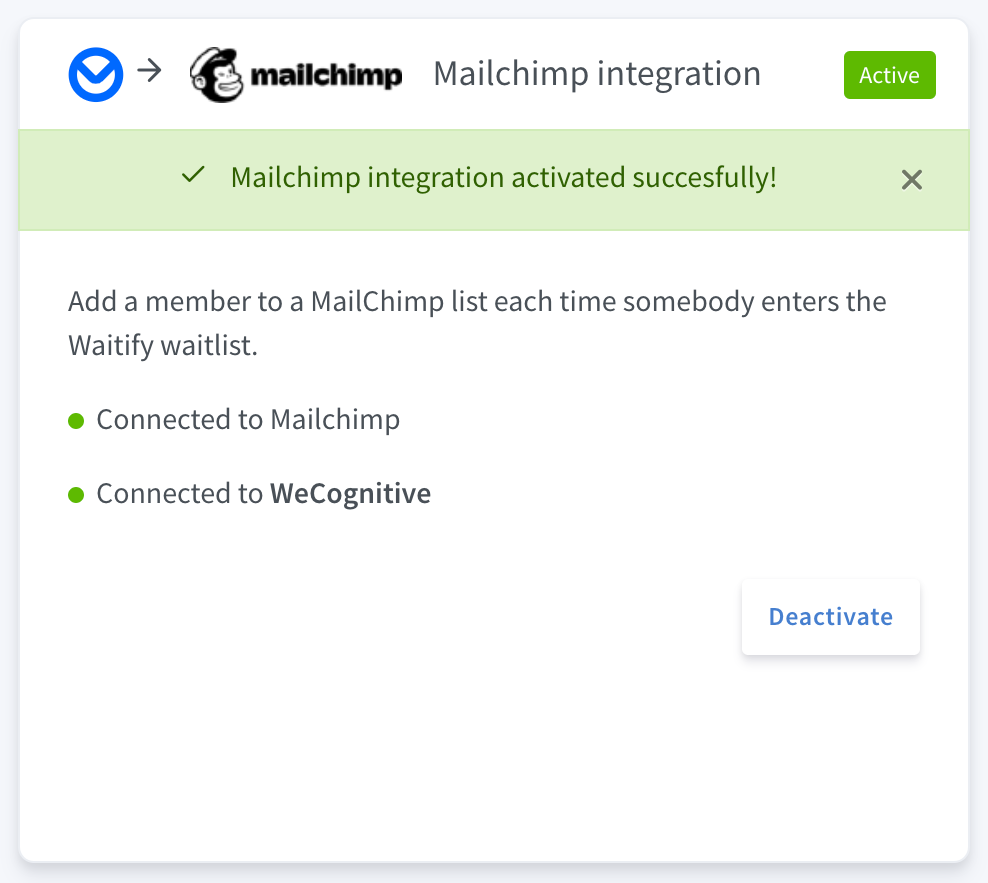
If you want to stop adding your subscribers to your MailChimp list, click "Deactivate."
Mailchimp Merge Tags
When a subscriber is created, Tuemilio will send the following information to Mailchimp, which will be accessible within Mailchimp merge tags, if you activate them on your Mailchimp audience.
| Tuemilio Data | Mailchimp Merge Tag |
|---|---|
| referral_link | RLINK |
| dashboard_link | DLINK |
| referral_id | RID |
| country_code | COUNTRY |
| city | CITY |
| language | LANGUAGE |
WARNING
You will always have to add on Mailchimp audience settings the merge tags you want to collect: RLINK, DLINK, RID, etc.
Also, the custom fields on your Tuemilio form will be sent automatically to Mailchimp and accessible via Mailchimp merge tags.
For example, if you are collecting your subscribers' Discord handle. You will need to add a |DISCORD| merge tag on Mailchimp audience settings. And on your Tuemilio form, you will need to name your custom field exactly as the Mailchimp merge tag.
| Tuemilio Custom Field Name | Mailchimp Merge Tag |
|---|---|
| discord | DISCORD |
Tuemilio form:

Mailchimp merge tags:

Result:

Google Analytics
If you have Google Analytics installed on your site, and you switch on Automatic integration with Google Analytics on your Waitlist > Settings page, Tuemilio will send events to Google Analytics.

Webhooks
A webhook is a flexible connecting tool that lets you integrate with almost anything on the internet. Each time you get a new subscriber, Tuemilio makes a POST request to the URL you specify with the subscriber's information.
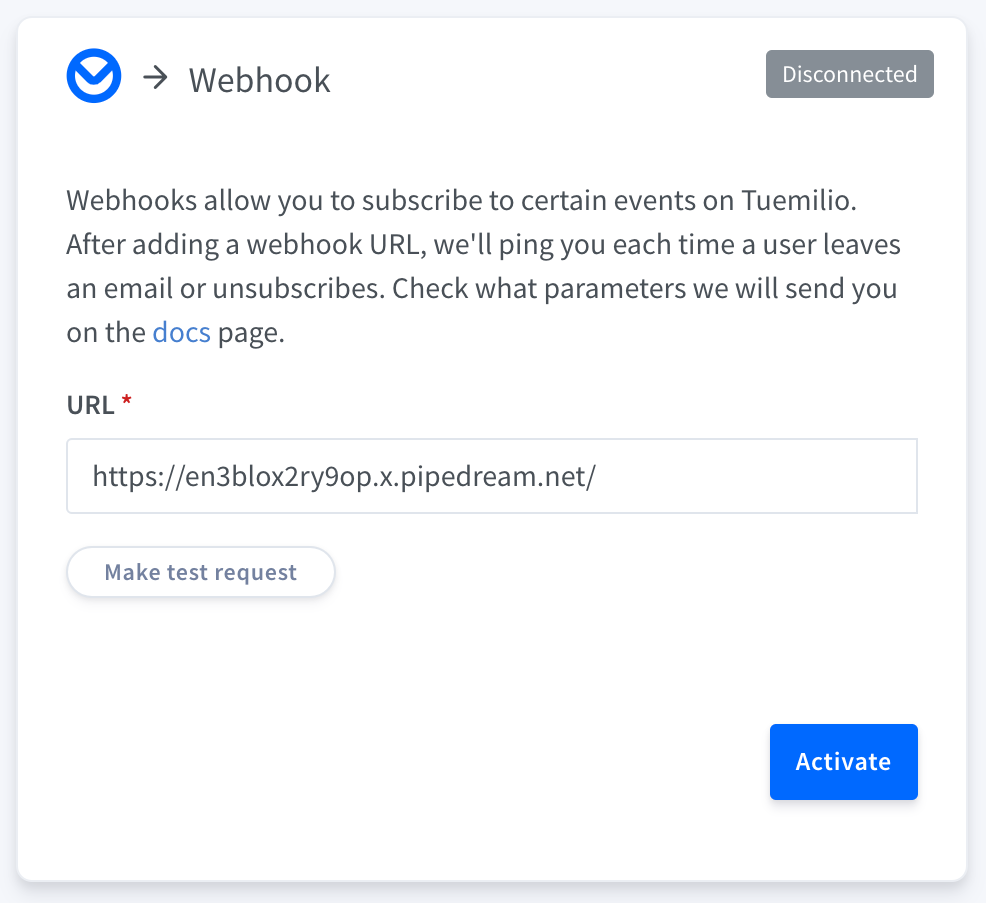
Click the "Make test request" if you need to debug or test your endpoint's logic. When everything is on point, click "Activate" to start the connection. Check here the webhook data sent from Tuemilio.
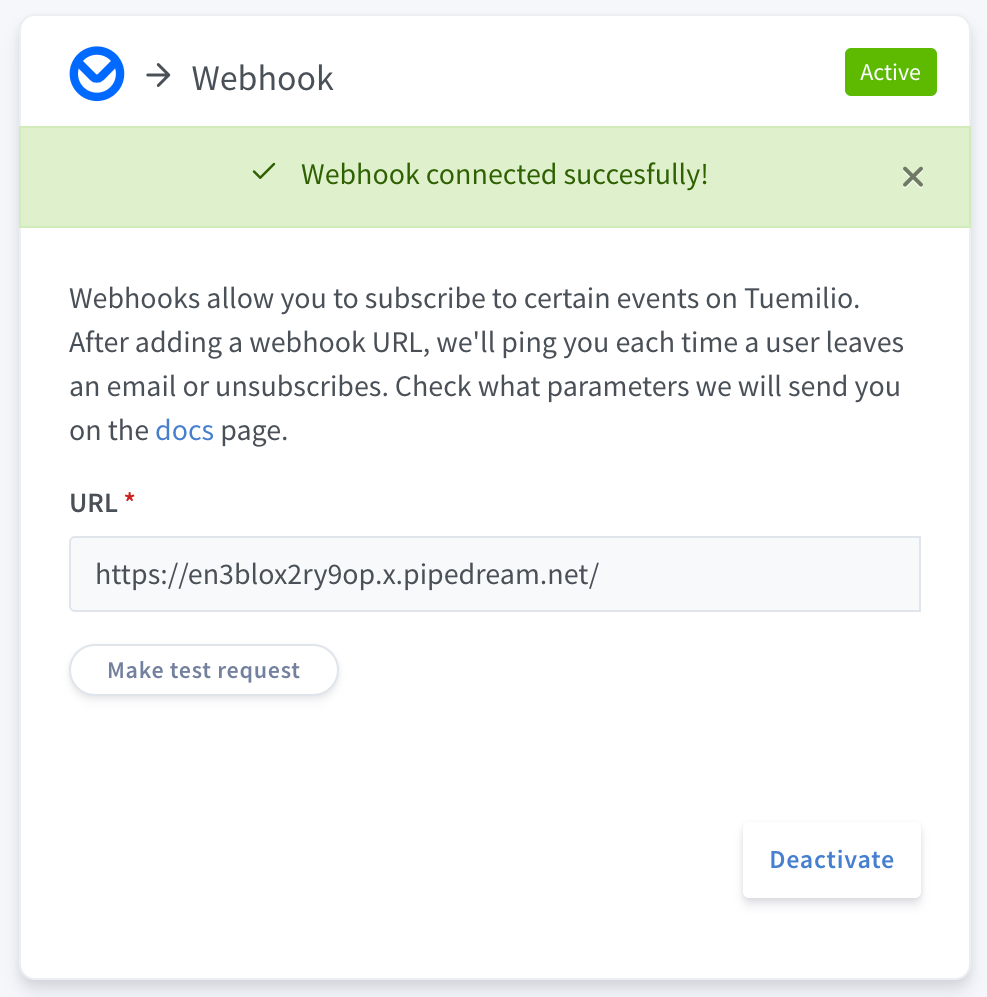
Good job! You connected your list to an endpoint. But why do I need that? Integrate to all available services on Zapier or send a notification to a Telegram conversation, for example.
Grant Access Webhook
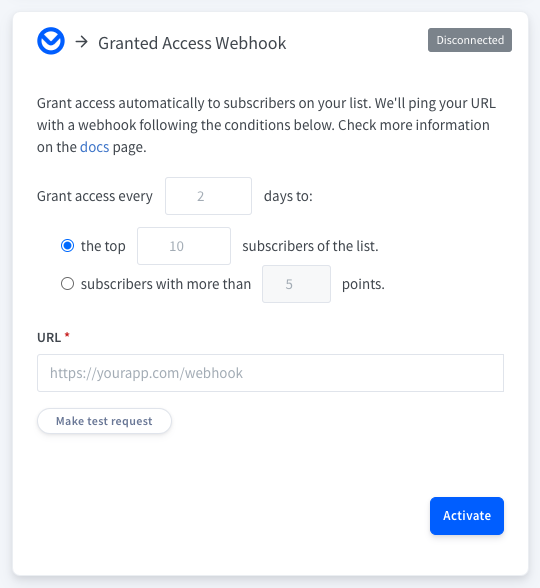
You can set Tuemilio to send automatic webhooks to your application for granting access to your subscribers from your app.
- Set how often you'll give access to your users in days. Set to 1 to grant access to a batch of users every day. Set to 7 for a weekly release.
- Select the top X subscribers of the list you want to give access to. On the next batch, the following group of subscribers will be granted.
- Or select how many points a subscriber will need at least to get access.
Check here the webhook data sent from Tuemilio.
Here a few examples.
- For giving access gradually to your launch list, set an interval of 7 days to the top 20 subscribers.
- For giving automatic access to users that reach more than 5 points. Set an interval of 1 day to subscribers with more than 5 points.
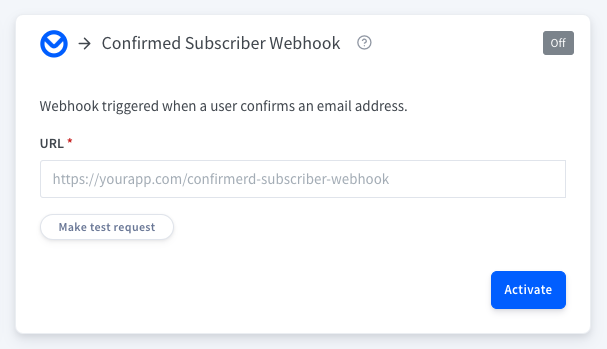
Confirmed Subscriber Webhook
You can set Tuemilio to send automatic webhooks to your application when subscribers confirm their email addresses. This webhook only fires when the confirmation email automation is enabled.
Check here the webhook data sent from Tuemilio.
Alerts
We will send you a notification when your waitlist grows X number of subscribers.
Via email, we can notify you each time you get 50 new subscribers. Type 50 in the "Email me every" field and write the email address where you want to be notified.

To stop receiving notifications, click the "Deactivate" button. For receiving fewer emails, increase the number of subscribers.
Other Channels
At the moment, we only support email notifications. If you wish to get alerted through another channel, please add your request here.
Teams
Create a team and invite members to work together. Members of your team can view and edit your lists, emails and settings.
Create a team
Click on your name on the top right corner and then click "Teams."
On the teams' page, click "Create team" and give it a name. Now you'll be able to invite members to your team using their email addresses.
Members will receive an email with a link to join your team. From now on, you'll be able to work together.